Having already tackled cookies, cake, cheesecake and cobbler, I wasn’t sure what dessert categories I had left. But, of course, I was forgetting one of the most basic dessert forms: bars!
Bars were a staple growing up in my family. Almost any dessert could be made in bar form, and some even tasted better that way. Not to mention, bars make for easy preparation and storage.
I came across a picture for this banana bread crumb cake bar recipe and couldn’t help but click. That brought me to the blog Cookies & Cups, heaven for a dessert lover such as myself.
This was another great, simple recipe for a busy week of Thanksgiving preparations, which had me driving all over town last night in search of key lime juice for my family-famous key lime pie.
Which brings me to an announcement:
That recipe, along with 14 other family favorites, will be featured in a holiday cookbook I will be releasing next week! Keep an eye out for a link on the top menu to the PDF version.
I hope you all had a wonderful Thanksgiving!
Banana Bread Crumb Cake Bars, Step-by-Step Photos
Spray a 9×13” baking dish and set aside. Add 2 cups flour to a medium bowl.

Add 3 teaspoons baking powder.

Add 1 teaspoon salt, and whisk ingredients together. Set aside.

In a large bowl, mash 3 ripe bananas until they become liquefied.

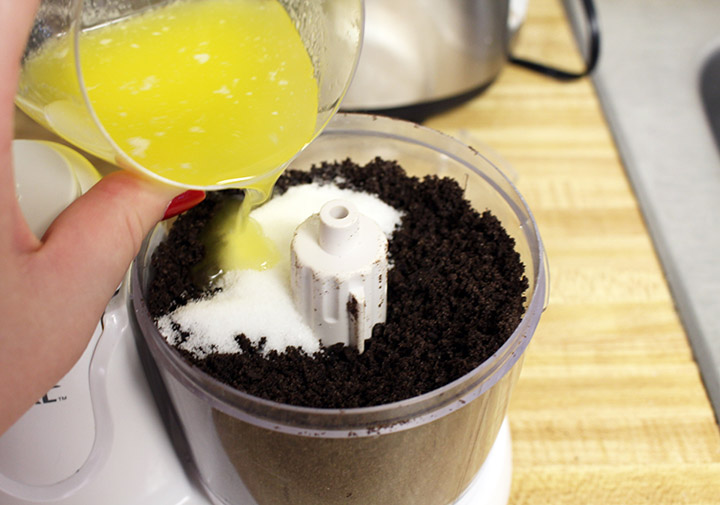
Add ½ cup butter, room temperature, and mix until combined. Having forgotten to set out my butter ahead of time, I cheated and slightly melted mine in the microwave.


Add 2 cups sugar.

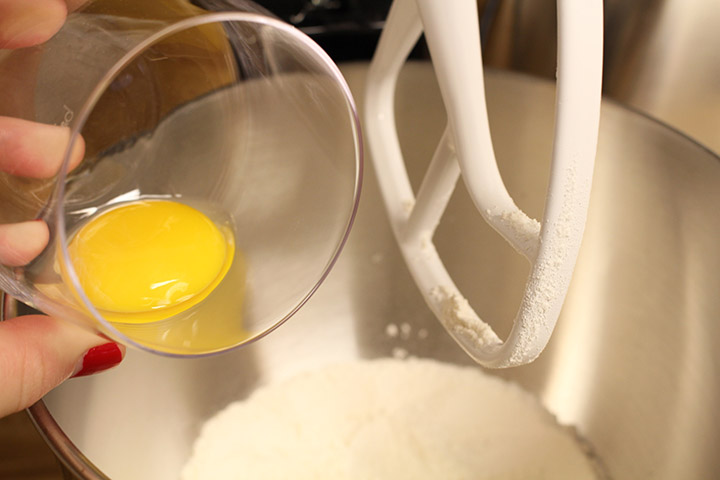
Add 2 eggs.

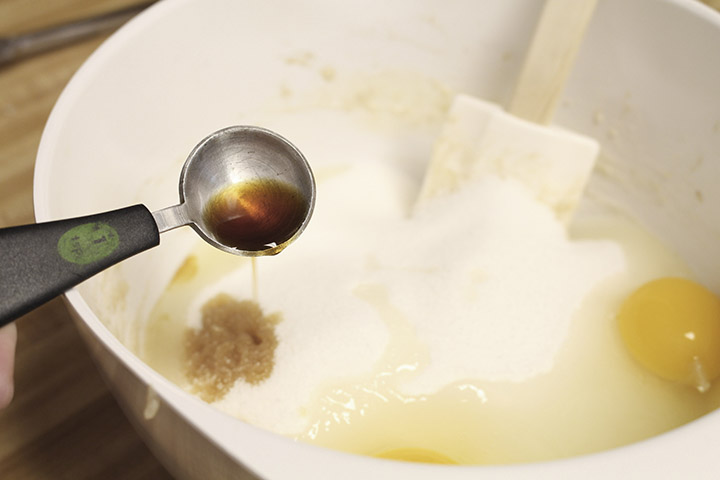
Add 1 teaspoon vanilla, and mix well.
Stir in flour mixture and 1 cup milk until well combined.


For the crumb filling/topping, add 2 cups flour to a small bowl.

Add 1 cup cold butter, cubed.

Add 2 cups brown sugar and cut together with a pastry cutter (I used a fork and my hands) until a coarse crumb forms. (In attempting to soften my brick of brown sugar using the moist paper towel and microwave method, I punched in the wrong time and completely melted it. Therefore, I had to substitute regular sugar, which can be used to replace brown sugar in a recipe in a 1:1 ratio. The taste will be slightly different; if you happen to have molasses on hand, adding 2 teaspoons per cup of white sugar will actually create a brown sugar.)


Pour ½ of the batter into the prepared pan.

Top with 1/3 of crumb mixture.

Pour the rest of the batter into the pan, then top with remaining crumb mixture.


Bake for 50-55 minutes at 350 degrees until center is set and a toothpick comes out clean. Cool 10 minutes.
OPTIONAL:
In the meantime, combine 1 cup powdered sugar and 1-2 tablespoons milk in a small bowl to create a glaze.
Drizzle over bars, and serve warm or at room temperature.
(Given how much sugar went into the bars already, I decided the added glaze would be too sweet for me, so I skipped this.)
Enjoy!


Look at that texture!
I have to say, this recipe wasn’t a home run for me. Perhaps it was the sugar substitution, but I found the bars low on any flavor other than sweetness. Then again, maybe this recipe just isn’t to my taste. One thing I think would have improved it (besides using the correct sugar) is the addition of some chopped nuts, to make it more reminiscent of banana bread (which I love). I would encourage you to give it a shot, though, and share your experience!
Banana Bread Crumb Cake Bars Recipe
Yield: 12 servings
Ingredients
For the bars:
- 2 cups flour
- 3 teaspoons baking powder
- 1 teaspoon salt
- 3 ripe bananas
- ½ cup butter, room temperature
- 2 cups sugar
- 2 eggs
- 1 teaspoon vanilla
- 1 cup milk
For the crumb filling and topping:
- 1 cup cold butter, cubed
- 2 cups brown sugar
- 2 cups flour
For the glaze (optional):
- 1 cup powdered sugar
- 1-2 tablespoons milk
1. Spray a 9×13” baking dish and set aside.
2. In a medium bowl, whisk together flour, baking powder and salt. Set aside.
3. In a large bowl, mash bananas until they become liquefied. Mix in butter until combined, then stir in sugar, eggs and vanilla until mixed well.
4. Stir in flour mixture and milk until combined.
5. Prepare crumb filling/topping by combining all ingredients and cutting them together until a coarse crumb forms.
6. Pour ½ of the batter into the prepared pan. Top with 1/3 of the crumb mixture, then pour in remaining batter and top with remaining crumb mixture.
7. Bake for 50-55 minutes at 350 degrees until the center is set and a toothpick comes out clean.
8. Cool 10 minutes, then drizzle with glaze (optional). Can be served warm or at room temperature.
If you try this recipe, please leave a comment below!